Invoices
Generate invoices from approved time entries and expenses. Invoices can be previewed as PDFs before sending. Only admins can create and manage invoices.

Creating an invoice
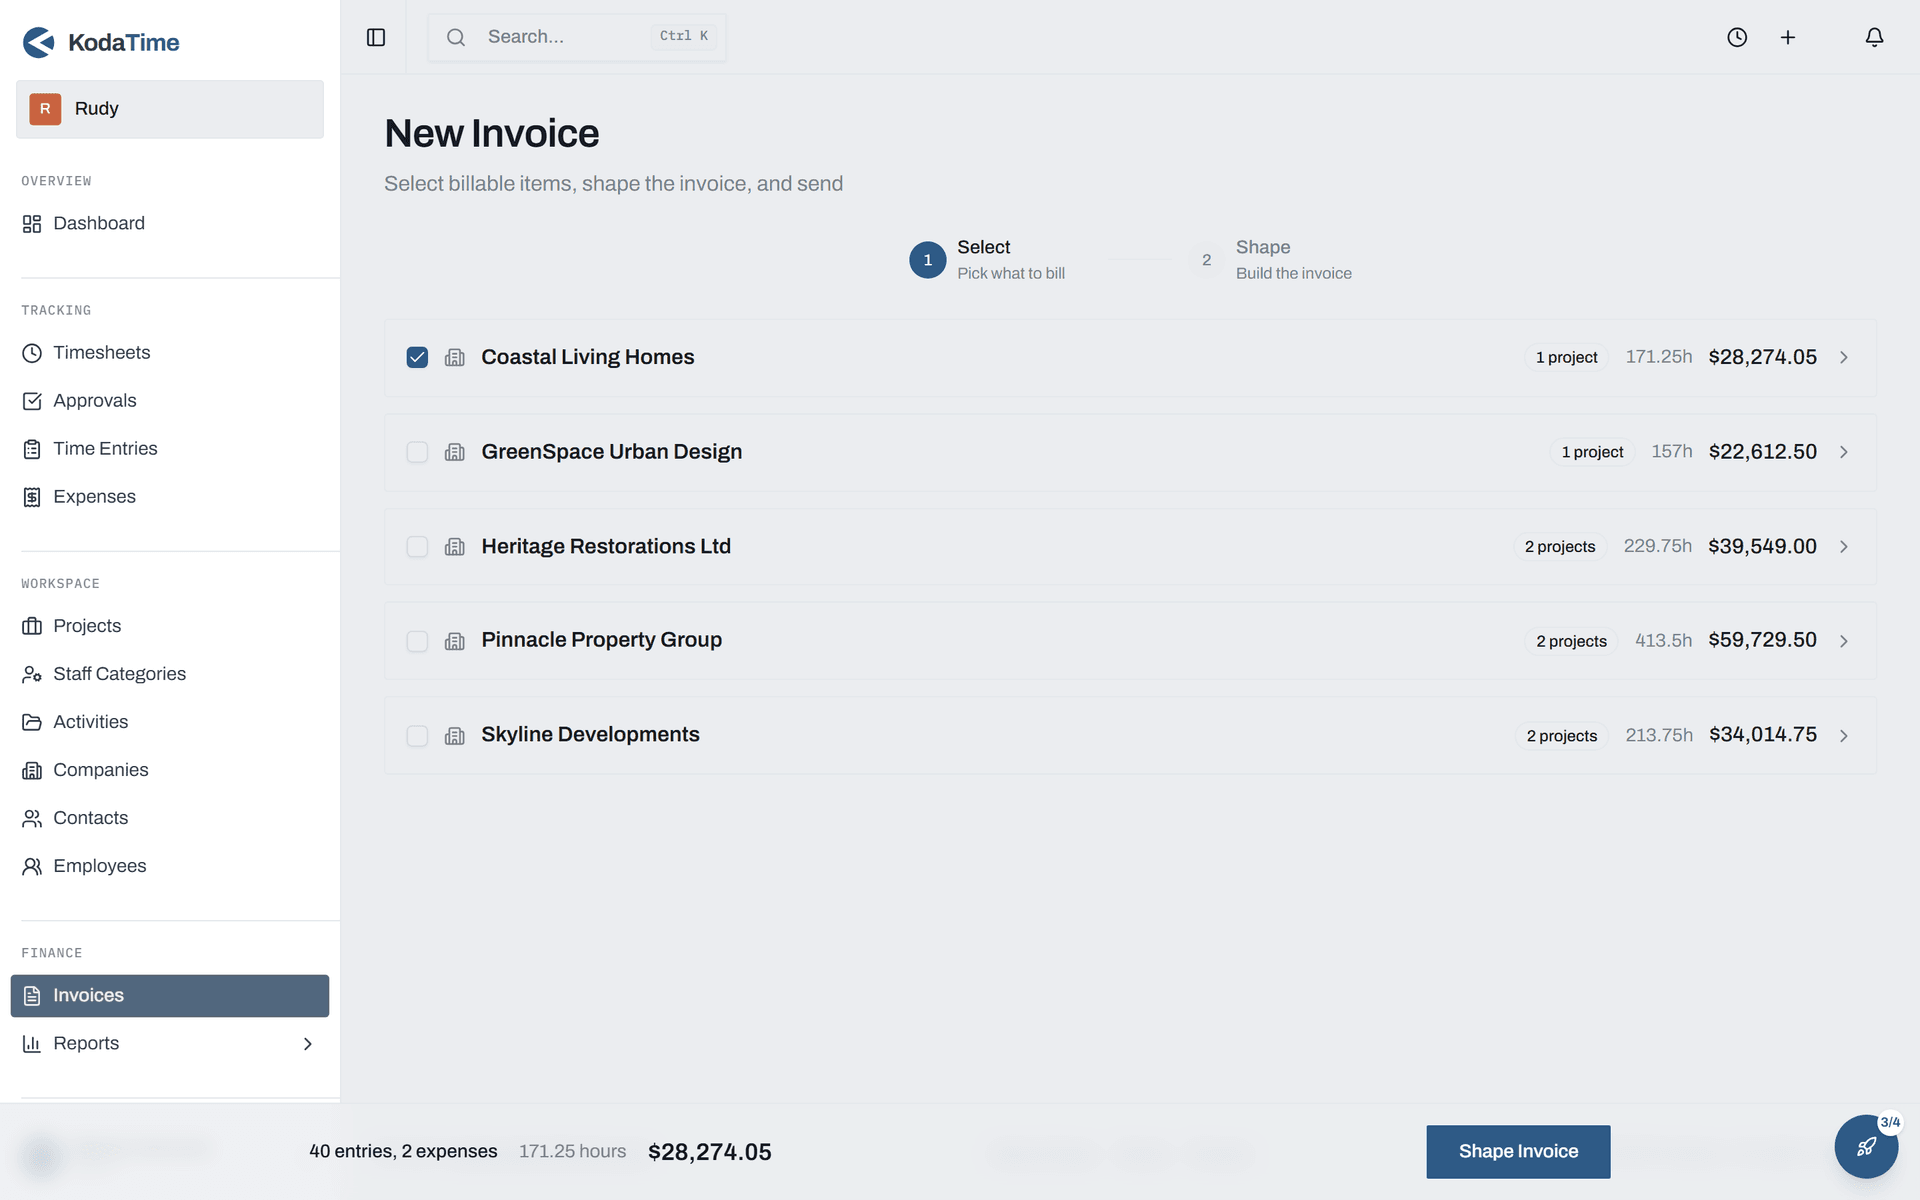
Click New Invoice to open the two-step flow:
- Select — Pick what to bill. Choose the client company, expand it to see uninvoiced projects, and tick the time entries and expenses to include.
- Shape — Build the invoice. Choose a view mode and grouping, add extra line items, set the discount and tax rate, fill in invoice metadata, preview the PDF, then save or send.
View modes & grouping
In the Shape step you choose how entries appear on the invoice:
- Summary— One aggregated line per group. Use the Group By option to group by Project, Staff, or Staff Category.
- Detailed— One line per individual time entry or expense.
- Custom— Full manual control. Edit line items freely, reorder them, and add extras.
Editing a draft
Opening a saved draft from the invoice list opens a three-step editing wizard — Company & Scope, Billable Items, then Review & Finalize — so you can adjust items, grouping, discounts, and metadata before finalizing.
Invoice statuses
- Draft — Editable, not yet sent.
- Sent — Delivered to the client.
- Paid — Payment received.
- Void — Cancelled. Time entries are freed for re-invoicing.
Xero sync
With the optional Xero Sync add-on, sending an invoice creates it in your Xero organisation and payments recorded in Xero mark it paid here automatically.
Each time entry and expense can only appear on one invoice. Voiding an invoice releases its items so they can be included on a new invoice.